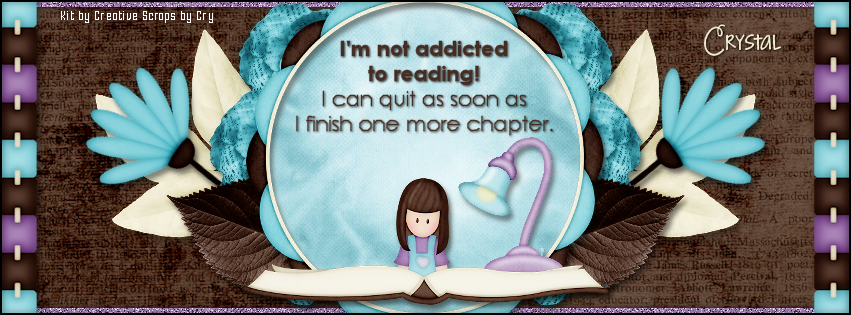
READING TUTORIAL
**Click to see original size**
Tutorial written by Marcia Salgado on May 21th, 2016
for those who have a working knowledge of PSP.
Any resemblance to any other tutorial is coincidental.
Do not copy and paste this tutorial anywhere on the net.
If you want to translate please ask first.
****************************************
Material:
PTU Kit "A Passion for Reading" by Creative Scraps by Crys,
you can purchase it here
Wordart: by me, just click and save.
Font: KG Strawberry Limeade
****************************************
--> Remember to save often and use my tag as reference if necessary. Use a Drop Shadow of your choice.
1. Create a new image 815x315.
2. Open APFR_Paper_8. Copy and paste as new layer.
3. Open APFR_Paper_1. Copy and paste as new layer. Low the layer opacity to 64. Blend Mode: Soft Light.
4. Add a new layer. Select all. Fill it with #aa87b6. Contract > 7. Deselect. Noise: Random - 55 - Monochrome.
5. Open APFR_Frame_3. Copy and paste as new layer. Move it way to left. Leave it showing only the right side of the frame. Duplicate. Mirror. Merge down.
6. Open APFR_Frame_2. Resize 60%. Copy and paste as new layer.
8. Open APFR_Element_4. Resize 60%. Free Rotate: Left-55. Copy and paste as new layer. Move it to left. Duplicate. Mirror. Merge down.
9. Open APFR_Element_21. Resize 30%. Copy and paste as new layer. Move it up and to right. Duplicate it twice and place all three around the frame. Merge these three layers together. Duplicate. Mirror. Merge down.
10. Open APFR_Element_19. Resize 35%. Copy and paste as new layer. Move it down and to right. Duplicate. Mirror. Merge down.
11. Click on frame layer. Select inside the frame. Expand > 5. Add a new layer and move it below the frame layer. Open APFR_Paper_6. Copy and paste into selection. Deselect.
12. Click on frame layer again. Open APFR_Element_10. Resize 30%. Copy and paste as new layer. Move it a little down and a little to right.
13. Open APFR_Element_25. Resize 60%. Copy and paste as new layer. Move it down.
14. Open my wordart. Copy and paste as new layer. Move it up.
--> Add your copyright info and license#. Add your name or initials. Save as PNG.
--> Sometimes I had to change my Timeline size to 846x313 because when I add it to Facebook the image has extra pixels and do not fit perfectly. So try this size if the same is happening to you.


